

This is one of those projects that I had been dreading! Not because I dislike painting, but because I knew it would end up taking longer than expected. SO, needless to say, this toybox had been sitting in the basement for quite some time before I mustered up the courage to tackle this. I will say that the outcome was worth the time spent, and I feel better knowing this will not be sitting in a landfill!
This post contains affiliate links, and I will be compensated if you purchase something when you click on my links.

As for how to paint furniture without sanding, here's how I did it.
The before picture should tell you why I didn't want to sand this toybox! It might have taken hours to sand through layers of color! Ok, maybe I'm exaggerating a little.
The trick? Furniture paint! I came across this no prep paint (except for cleaning with soap and water) and had to try it out for myself.

Before painting, I took apart the entire box. I planned on using this for my son, so it was a must to get rid of all the pink. Plus I wanted to give it a two tone look by painting the inside blue. You'll see in the end, the construction of the box makes it so the inside edges overlap on the outside. (Hope that makes sense.)

Once it was apart, I cleaned it the best I could using Clorox wipes. If you've ever cleaned a kids toybox you'll sympathize with me when I say the inside of this thing was grimy! It's no wonder they (whoever they are) recommend sanitizing toys ever so often.
Then it was time to paint! I used an acrylic chalk paint on the inside.
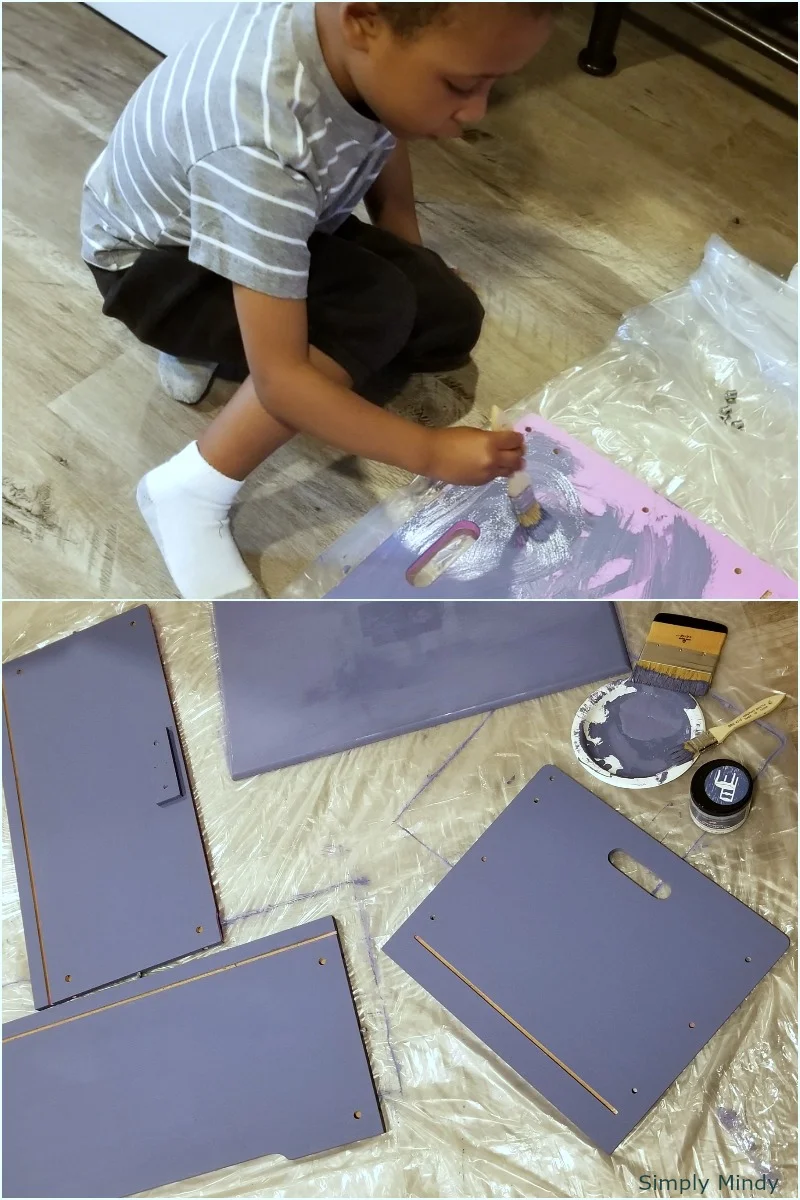
He insisted on helping! Of course I had to touch it up after.
I applied 2 coats of paint on the inside, and when that was completely dry I reassembled the box. Important to note: allow each coat of paint to dry completely before applying another! Take it from me, I've made the mistake before, the first layer will start to peel off if not dry.
I moved on to the outside of the box using the furniture paint by Vintage and Restore by K. They also have a tutorial for furniture painting step-by-step. They do recommend a specific brush to minimize brush strokes, but I didn't feel the need to splurge for this project. I used a basecoat brush by Folkart, which has soft bristles and is less harsh than a chalk brush. I will consider making the investment for the next furniture painting project I decide to take on!


To finish I used satin clear coat protective finish which is also by Vintage and Restore by K. They recommend this protective coat as opposed to wax for a durable finish. Because this will be a high use item, this step was necessary for me.
I have to be completely honest, I didn't like how the protective coat went on. It seems to darken the paint a shade and shows any imperfections and brush strokes from painting.


Of course I couldn't just stop at painting the toybox! I made this vinyl decal using my cricut!


In case you want to save this tutorial for how to paint furniture without sanding!
