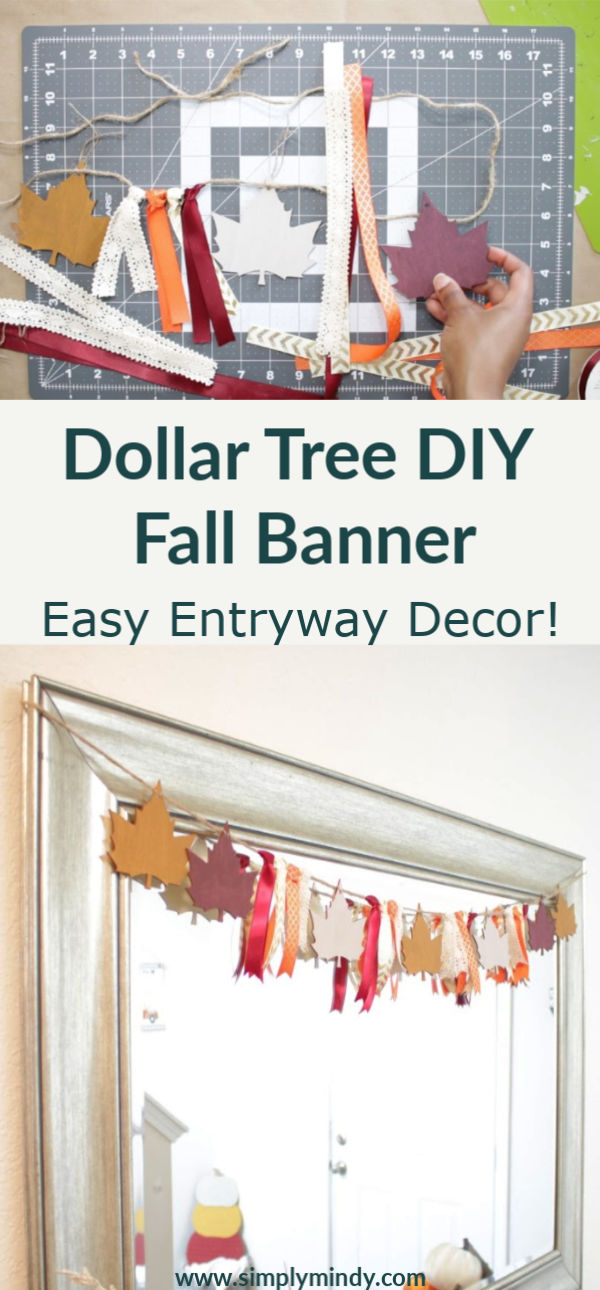
I’ve decorated more for fall this year than I ever have because I’m having so much fun coming up with different diy decor ideas using Dollar Tree products! I made this mini banner with leftover wood leaves I had intended to use on my fall mini wreath and the two compliment each other very well.
This post contains affiliate links. I may make a small commission if you purchase something when clicking on my links. It doesn’t cost you any extra!
I hung my fall banner over my entryway mirror and it brought the whole space together by incorporating all the colors I’m using this fall season. Dollar Tree has really improved the selection of craft items this year and I’m looking forward to more diy decorating projects!
Dollar Tree Fall Banner How-To:
Supplies:
wood craft leaves
4 varying ribbons (Dollar Tree carries 3 of the 4 I used)
jute twine
paint (optional: this banner would look great with the natural wood tone)
scissors
If painting the leaves, do it first and allow the paint to dry. I used a wine color, orange and white chalk paint, and mixed them each with some brown paint to get the color I wanted.
2. While the paint dries on the leaves, cut 4 pieces of each ribbon type at about 8 inches. Also cut the jute twine to the desired length.
3. Starting at the center of the jute cord, attach the first leaf using the twine included in the package. I created a loop by doubling the skinny twine and feeding it through the back of each leaf, placing the leaf on the jut cord, then pulling the ends through the top of the loop. Hope that makes sense! Alternate between looping
4. Alternate adding the set of 4 ribbons and a different colored leaf on either side of the center leaf. I used 7 wood leaves and there were no ribbon pieces between the two end leaves (mainly because I ran out of ribbon). This can be made as long or short as desired! To dovetail the ribbon, fold it in half lengthwise and cut upward at an angle.


