repurpose

Dual sided Mirrored Vanity Tray Diy


I get inspired in different ways to create décor pieces for my home. YouTube diy videos are one of the sources that sparks ideas for me. And, this project was inspired by a you tuber who created a mirrored tray. Her tray was uniquely different from other mirrored tray projects I had seen. She used a wired ribbon to create a tray border.

When I saw her video, I knew I had just the thing to create my own version of a mirrored tray. You won’t believe what I repurposed (from home renovation scraps) to create this tray. And, I even took it a step further and made this a dual-purpose project that only cost me $3. I am so happy with how this came out, and it’s a great addition to my dresser.

Here’s what I did…


I started with these supplies
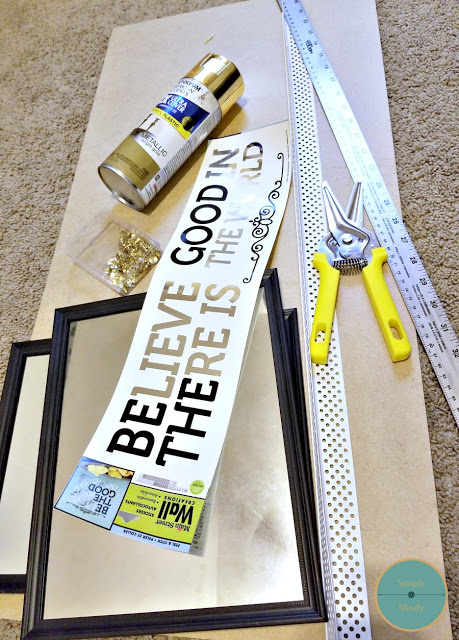
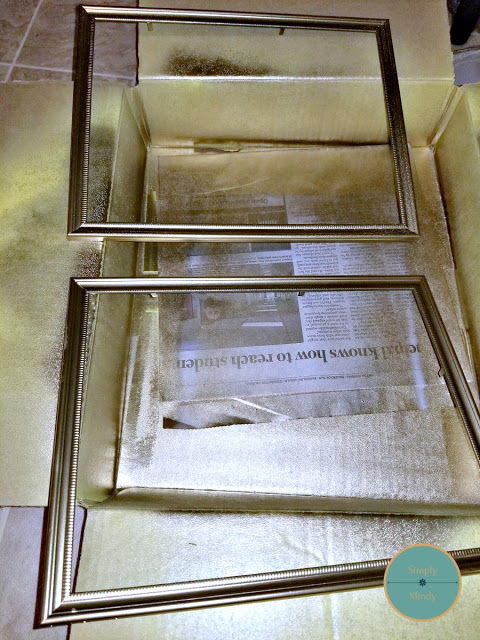


-2 framed mirrors

- wall decal

- gold thumb tacks

- gold spray paint

- a vinyl corner bead (used in construction to reinforce drywall corners)

- heavy duty scissors

- ruler


Step 1: measured the vinyl to fit the outer edge of the frames and cut to size


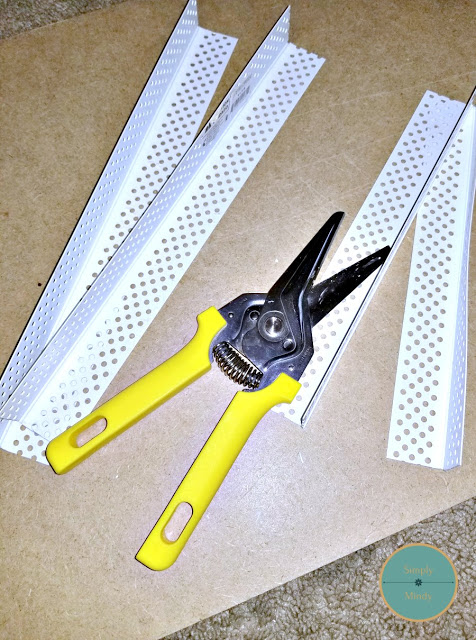
-You end up with 2 long pieces and 2 shorts

Step 2: cut 2 mitered corners on each piece of vinyl


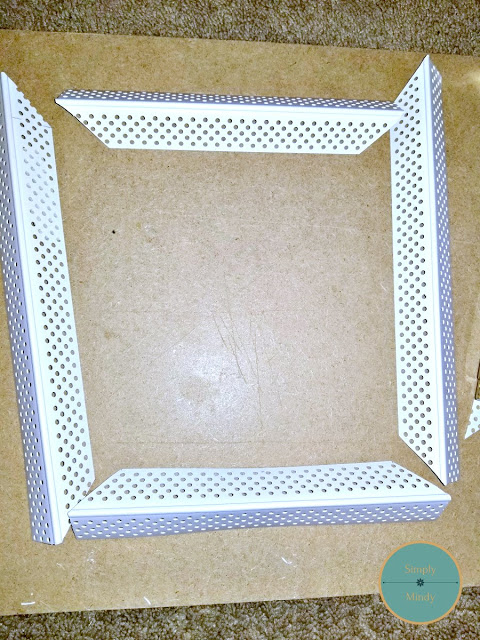
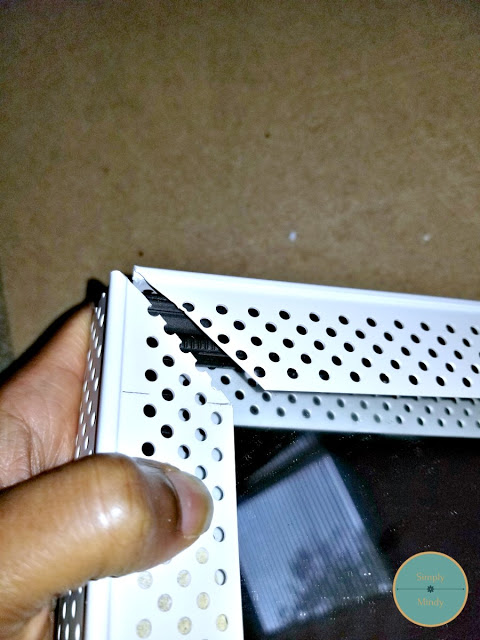
-I cut each angle inward to create a 45 degree angle


Step 3: spray painted the frames in metallic gold


Step 4: glued the frames back to back, after reassembling the framed mirrors


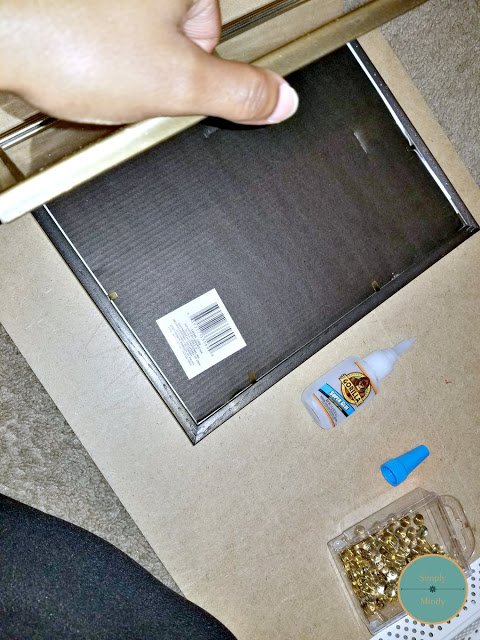
-I used super glue for this step, but I think even hot glue would do

Step 5: I added the wall decal to the mirror that would be the bottom of the tray


-I initially put the decal on the wrong way (lol), but I fixed it later

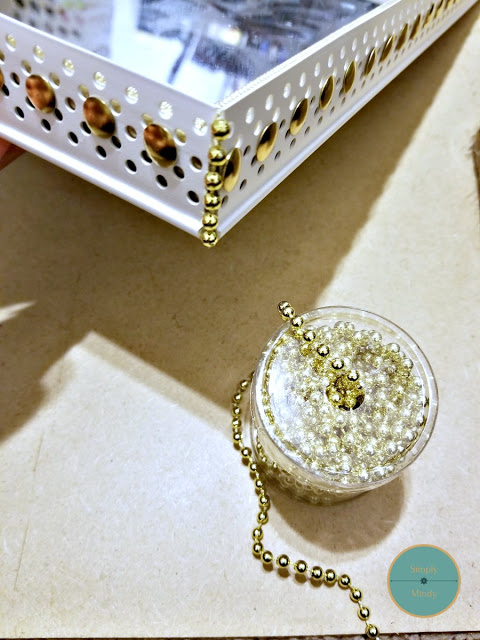
Step 6: attached the vinyl bead to the frame using the thumb tacks


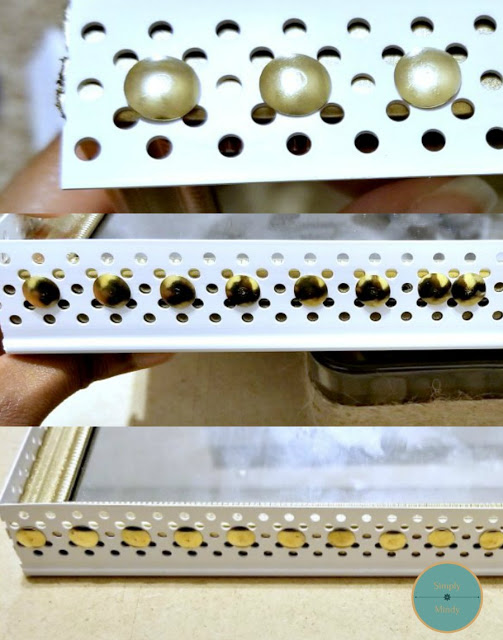
-I attached the tacks to the center hole (alternating each hole) on the straight edged side. I did this around the entire frame. 

Step 7: attached gold beaded ribbon (using hot glue) to each corner to cover up the jagged edges


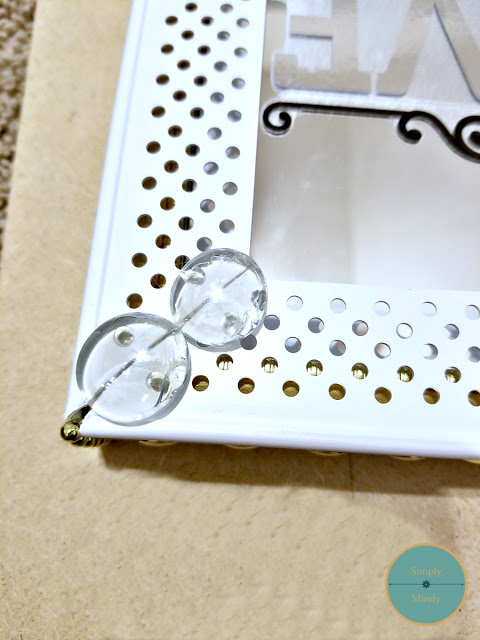
Step 8: attached flat glass gems on the bottom mitered corners using hot glue


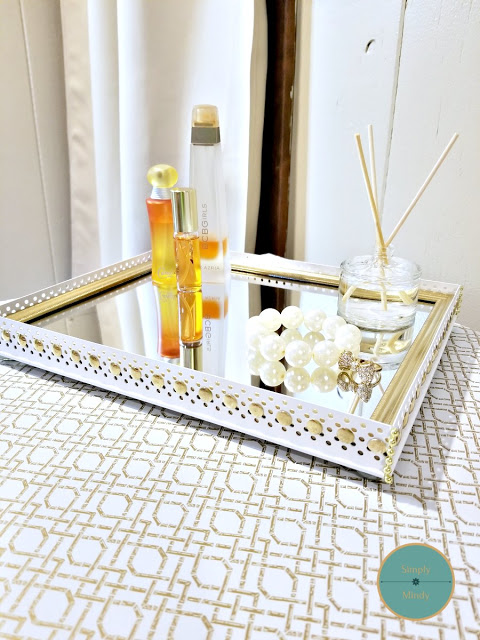
And here is the result. A dual purpose mirrored vanity tray/ framed mirror décor!


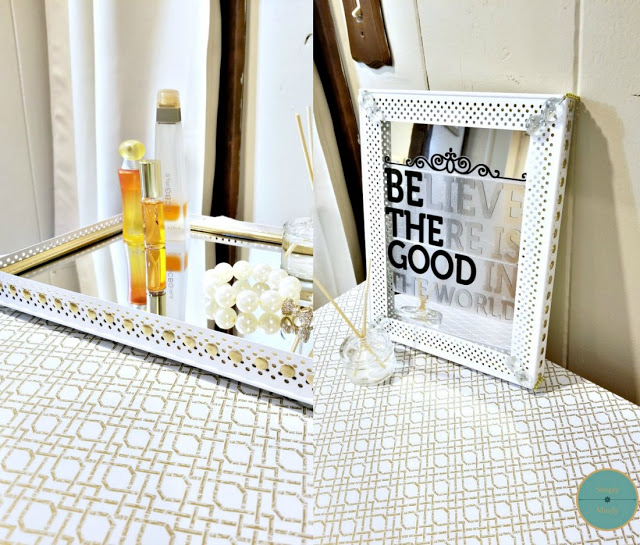
I am totally loving the look of this. I plan on using this as a tray for now, but I have the option of simply turning it over and using it as décor. I hope this inspires you to create your own unique décor piece. Let me know what you think. And until next time, thanks and God bless!

Living Simply,

Mindy✿

Contact Paper Dresser Update


Everyone loves Ikea furniture, right? Ok, maybe not everyone. But, I think most would agree Ikea has decent furniture and household items for great prices. At the same time though, most of the furniture is pretty plain and very simplistic. I’m not complaining, I love the functionality of the pieces in my home, but the design is just a little boring.

Since we’d had our previous bedroom furniture for about ten years, my husband and I decided it was time for an update. And after exhaustive searches at furniture stores we decided it best to just get a few separate pieces rather than a full bedroom set. It was also much more affordable to do it this way. We needed a dresser, and a closet since our bedroom moved to what used to be the living room. Who buys a full bedroom set nowadays anyway?

So, what’s my point? You can buy something plain and give it some pizazz! How do you do that? Well, there are many options i.e. paint, stencils, fabric to name a few. But I am using the easiest method, in my opinion, contact paper.

Here is the furniture before…


-I love the dark tone, but it is very stark and a little too masculine.


When using contact paper there are only 2 steps to take.


1.       Measure the surface to be covered

2.       Cut and apply

But, since I’ve used contact paper many times I’ve learned a couple of tricks to make it easier to apply. Because although it’s a short process it can get frustrating if you try to rush it.


This is the contact paper I used.


-I have had this for a few years and don’t even remember where I bought it, but it was the perfect subtle pop of color.


I didn’t need to measure the top of the dresser because the width of the contact paper was almost exactly the width of the dresser. I did however take measurements for the closet, which you’ll see later.


*Tips*
- when applying, remove the paper backing very slowly and use a straight edge to smooth each section (this prevents air bubbles from forming)
            
- use wax paper between the contact paper and straight edge when smoothing to prevent rubbing the design off the contact paper

- use a sharp blade to trim edges


For the closet, I measured for the inner squares on the door and cut each into two pieces (on the diagonal)


-I only needed two squares to get this geometric look I wanted

After I had finished applying the contact paper, I tied the whole look together by spray painting the dresser knobs


-I used a white primer, then a gold metallic paint


*Tip*
- when painting knobs, make holes in a piece of foam board (or cardboard) and secure the knobs to the board with the screws on the other side


And here is the result.


This cost me nothing to do because I had the contact paper and the spray paint. But, if you were to buy these supplies the total cost (for the paper and paint) would be less than $10 depending on the size roll of paper and brand of paint. Now I have furniture that is customized to my space. And if one day I wake up and don’t like it anymore, I can just peel the contact paper off! Let me know what you think. Have you used contact paper around your home for something other than shelves? Check out my Diy storage box.

Thanks, and God bless!

Living Simply,

Mindy